Taking on a DIY upholstery project is incredibly rewarding. Whether you’re refreshing a thrifted armchair or building a custom banquette, the “feel” of your finished piece depends entirely on one hidden factor: foam density.
Newcomers often make the mistake of only testing how soft a foam feels. However, if you want professional-looking results that don’t sag after six months, you need to understand the relationship between density and durability.
1. Density vs. Firmness: Know the Difference
Before you buy your materials, you must distinguish between these two frequently confused terms:
- Density (Mass): Measured in kg/m^3, this tells you how much actual material is packed into the foam. High-density foam has more material and fewer air pockets, making it structurally stronger.
- Firmness (Feel): This is how hard or soft the foam feels when you sit on it.
The DIY Rule: Always choose density for quality first, then choose firmness for comfort. A high-density foam can be soft (perfect for a luxury mattress topper), but a low-density foam will never be durable, no matter how “hard” it feels.
2. Choosing the Right Density for Your Project
Not every project requires the most expensive, heavy-duty foam. You can save money by matching the density to the “job” the furniture will do.
High-Traffic Seating (Sofas, Dining Chairs, Office Chairs)
- Target Density: 28–35\ kg/m^3
- Why: These pieces support your full body weight daily. High-density options, like those found in the Diamond Foam range, provide the “rebound” necessary to keep your cushions looking plump and tailored rather than flat and wrinkled.
Occasional Use (Guest Beds, Window Seats, Ottomans)
- Target Density: 22–26\ kg/m^3
- Why: If the item isn’t used every day, a medium-density foam offers a great balance of comfort and cost-savings.
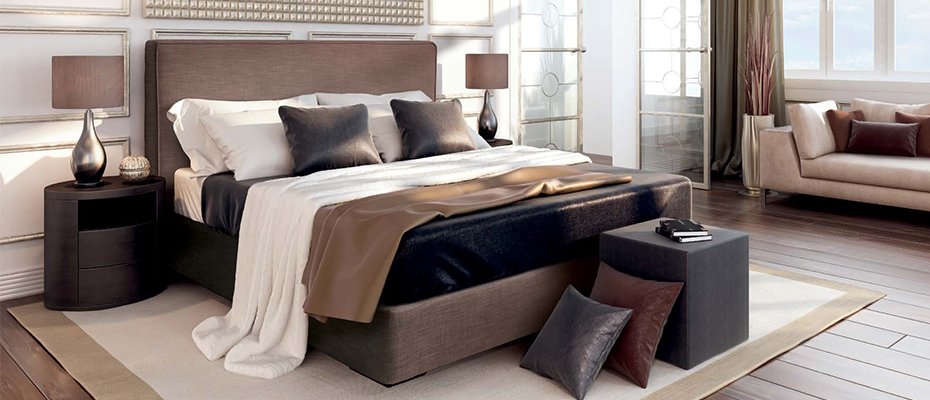
Decorative & Vertical Uses (Headboards, Accent Panels)
- Target Density: 15–20\ kg/m^3
- Why: Since you won’t be sitting on a headboard, you don’t need high compression resistance. Using a lower-density foam here is a smart way to stay under budget.
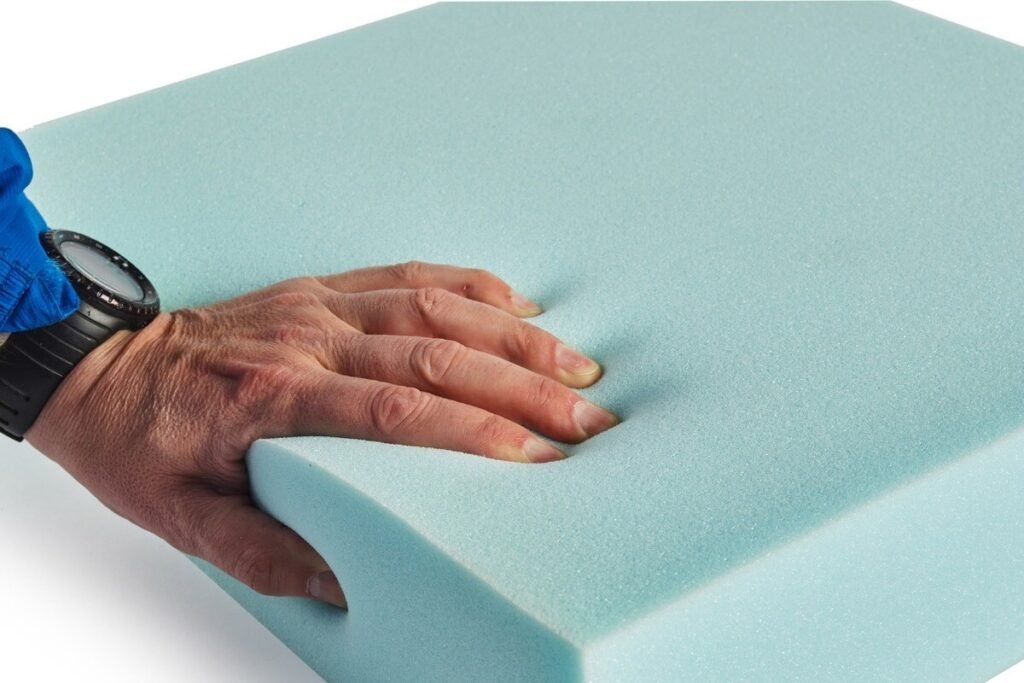
3. The “Snap Back” Test: A DIYer’s Best Friend
If you’re shopping in person and the density isn’t labeled, use this pro trick: Press your fist firmly into the foam and release it quickly.
- High Quality: The foam should “snap” back to its original shape faster than your eye can follow.
- Low Quality: If you see a lingering indentation or the foam “creeps” back slowly, it lacks the cell strength needed for seating.
4. Pro Tips for Working with High-Density Foam
Once you’ve picked your material, use these techniques to get a professional finish:
- The Best Cutting Tool: High-density foam is tough. Skip the scissors and use an electric carving knife (the kind used for holiday turkeys) to get perfectly straight, clean edges.
- The “Secret” Layer: Wrap your foam in Dacron (polyester batting). This rounds out the sharp edges, gives the piece a plush look, and helps your fabric slide on more easily.
- Outdoor Exception: If you’re building patio furniture, always choose “Open-Cell” foam. It allows water to drain straight through, preventing mold and mildew.
Final Decision: Build to Last
The difference between a “homemade” look and a “professional” finish is what’s on the inside. It might be tempting to save a few hundred rupees on cheaper sponge, but your hard work deserves better.
If you want your DIY furniture to last 10+ years, aim for a density of 30\ kg/m^3 for anything you sit on. Using premium grades from brands like Diamond Supreme Foam ensures that your weekend project remains a source of pride—and comfort—for a decade to come.